Wednesday, August 22, 2012

Basil and Ricotta Stuffed Chicken


Butterfly Chicken to open it up. IF you don't know how to do this place your knife as close to the center of the thickness as you can and place your other hand on top of the breast. Don't be afraid to put your entire hand and apply some pressure. Keeping your knife blade horizontal apply pressure as you move the blade slowly back and forth. Once you get it started you can lift up the top part of the breast to make sure your cut is pretty even and then using the tip part of your knife continue to cut as you hold the top part up so you can make sure it's even. Once you get better your will be able to do this with your eyes closed in about 5 seconds.


Then make the pesto ricotta filling. Put a couple cloves of garlic into your food processor and a good amount of fresh basil.
 
Add enough olive oil to allow it to pulse...I probably added a little too much but it's not that big of a deal. Also add some salt and pepper.
 
This is what it will look like. It can be a little thicker if you added a little less olive oil then I did.
 
Then mix in about 3 heaping TBLS of Ricotta Cheese. ( more or less depending on the consistency and your preference)
 
Then spread onto 1 side of your chicken breast.
 
Fold over and salt and pepper.
 
Bake at 400 for 20-25 min depending on the thickness of your chicken. I would say mine were about medium thickness. Use your thermometer to make sure you don't over or under cook. Alternatively you can cut though the chicken breast all the way and just put the sauce right on top of each half and cook it that way. It will cook a little bit faster that way since it's not as thick and not stuffed.
 
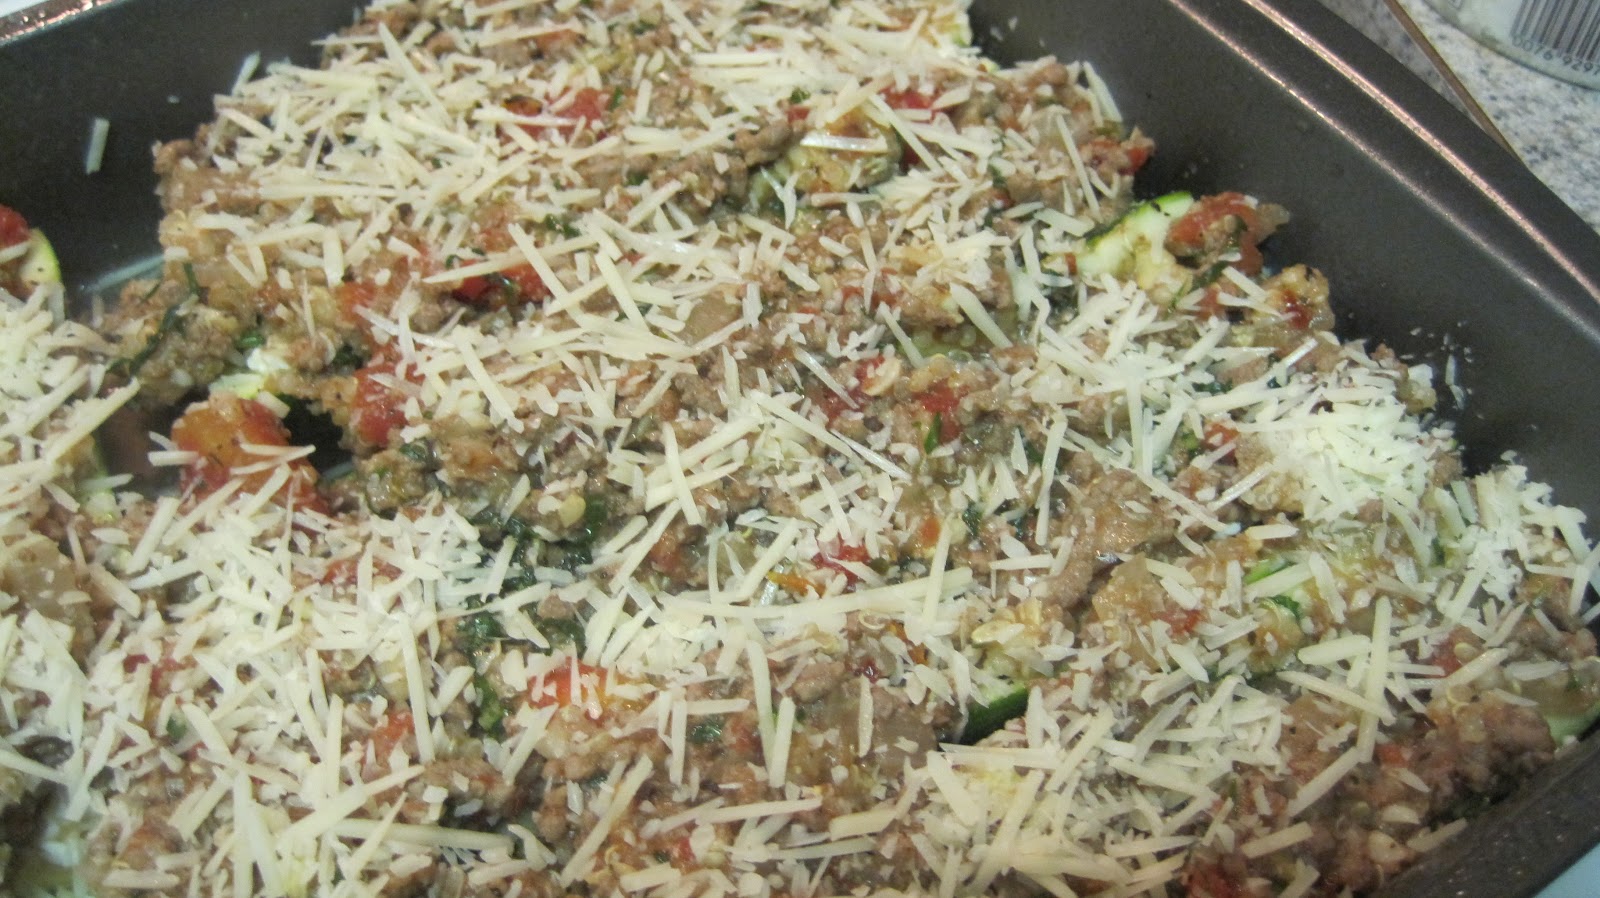
Once the chicken is about done somewhere around 155-160ish. Remove and sprinkle with some parmesan cheese and turn the oven to broil.
 
When it's finished it will look like this.
 
I was going to make a quick tomato sauce to put on top but I was exhausted! So this worked for a pretty easy dinner. It was pretty good. Hubs ate it in 3 bites and then had another one!

Friday, August 17, 2012

Easy and Gluten Free Sole Meuniere


Typically this dish is done on the stove top and the fish is dredged in flour which creates a nice and delicious crust! However gluten free means no flour...I also opted to try and bake the fish instead of sauteing. The verdict is I should have put it under the broiler so it would have gotten a little bit crispy. Honestly I thought that's what I was doing but I turned the bake on instead of broil.


Anyway...salt and pepper your fish on a foil lined baking sheet.
Bake or preferrably Broil for anywhere from 8-12 min depending on how thick your fish is. I happened to have Sole but I usually use tilapia.


Into a little saute pan put about 1TBLS of butter (please don't use margarine, I don't care if they can't believe it's not butter, its NOT butter!) a drizzle of olive oil, a couple cloves of chopped up garlic, some lemon  zest, and some chopped fresh thyme and parsley.


Once it's all melted and you can smell the garlic (a min or 2) add the juice of half a lemon.

Once the fish is done pour this "sauce" over the fish and tada!
I served this with some roasted asparagus drizzled with olive oil, salt and pepper and some fresh chopped garlic. Roasted for about 10 min.


Pork Loin

Pulled Pork (crockpot style)


I used Pork Loin but Pork Butt or Shoulder would work.


I rubbed the fat side with plenty of salt and pepper, chilli powder (2 big pinches), cumin powder(1 big pinch), and garlic powder (1 big pinch)

Once it's seasoned rub it in.


If you are short on time you can go right into the crock pot now,  but if you have an extra 10min I recommend searing the pork on all sides first.
Put the seasoned side down in a HOT pan with HOT oil.

Lightly season the other side with everything from the 1st side.

You want a nice dark brown color on that 1st side. I probably let mine go 1 or 2 min too long cause spots are a little too dark. It's not that big of a deal though, it tasted wonderful! Sear all sides. Once you get both front and back seared you can just hold it up for 1 min on the remaining little sides just to sear the flesh.

Then into the crockpot on low, with 1 can of diced tomatoes ( I used my fav, fire roasted, but a jar of salsa would also work)  I also cut up a nectarine. I like the spicy and sweet together. You can also add salsa and some peach or orange jelly. BUT we are avoiding all that added sugar this month. I then added about 1/2 cup of stock so the bottom of my pan wouldn't burn. I usually add chicken stock to pork but I was out so I used beef stock and it was fine.


The shortest time I've let this cook is 6 hours and it was very delicious and tender. I would bet it would be okay at 4-5 hours too. Today I left it for almost 10 hours! It really is fine either way.
I served this with black beans, vinegar slaw, and a green salad.

I didn't take pics of the slaw because it's really really simple.
Cut up some cabbage, drizzle a few TBLS of rice vinegar and throw in some chopped cilantro.
I really like the flavor and texture contrast of the slaw with the pork. This is the same kind of slaw I use for fish tacos.

Monday, August 13, 2012

Healthy Asian Stirfry


Healthy Asian Stirfry


Gather as many different types of vegetables as you have/like
I used zuchinni, baby eggplant, green beans, onions, carrots, and broccoli


I peeled my carrots into ribbons like this so they would cook fast and also cause I thought they looked pretty. I just used my regular peeler and kept on peeling.


I used 1 small onion.  I cut in half and then thinly sliced half moons.

To make the peanut soy sauce I used my immersion blender, you can use your food processor if you don't have one. I put in 2 cloves of garlic.

1 heaping teaspoon of peanutbutter

5 teaspoons of soy sauce. ( I ended up drizzling a little more soy sauce on top of my plate but I like soy sauce, remember it's just a guideline)

I added 3 teaspoons of sesame oil


This much fresh ginger. I gave it a quick rough chop to help my immersion blender. (remember to peel the ginger first)

It came from a piece this big.

Then I added a few leaves of Thai Basil, just cause I had it. You can add nothing or I've added a little cilantro in the past.


The juice of 1 lime

Mix it all up good, taste it and add more soy, peanut butter or whatever your taste tells you.
P.S. You can also use this sauce/dressing in an Asian slaw or Asian Salad or as a marinade for grilled chicken.

Then heat your pan up over high heat. Once the pan is hot add some olive oil and then add your sliced chicken. Salt and pepper your chicken


Cook your chicken for about 4 min or so until it's almost completly cooked, then remove it from the pan and add your veg.

Salt and pepper your veg and toss it all together then add a little bit of chicken stock to help "steam" it. I cooked my veg about 3-4 min after I added the stock and then added the chicken back in.

I then added my carrot ribbons cause they only take 1-2 min.


Once those were getting tender I added my sauce and tossed to combine.

You can serve this over rice, quinoa, or wide egg noodles or eat it like we did just plain. (we are doing a month of gluten and sugar free)


Sunday, August 12, 2012

Stuffed Zucchini


Saute 1 diced up onion


Add 1LB Ground Beef


Once Beef is cooked at this much garlic


Then add about 1/4 cup of either red wine or beef stock
and 2 cans of fire roasted tomatoes. I only had 1 can so I went with that.


Add this much dried Italian seasoning


And this much garlic powder

For a little kick add some red pepper flakes
of coarse add salt and pepper and taste and adjust seasoning.
Set aside.

Totally optional but I really like Tarragon in my tomato sauce so I chopped some up.

I also chopped some fresh basil.


Cut Zucchini lengthwise and with a spoon gently scoop out some of the flesh.


Line up zucchini in baking pan and sprinkle with cheese. I've used everything from blue cheese to cheddar. Today I used goat cheese.


Spoon sauce in the zucchini boats and sprinkle with more cheese. Bake at 350 for 20 min